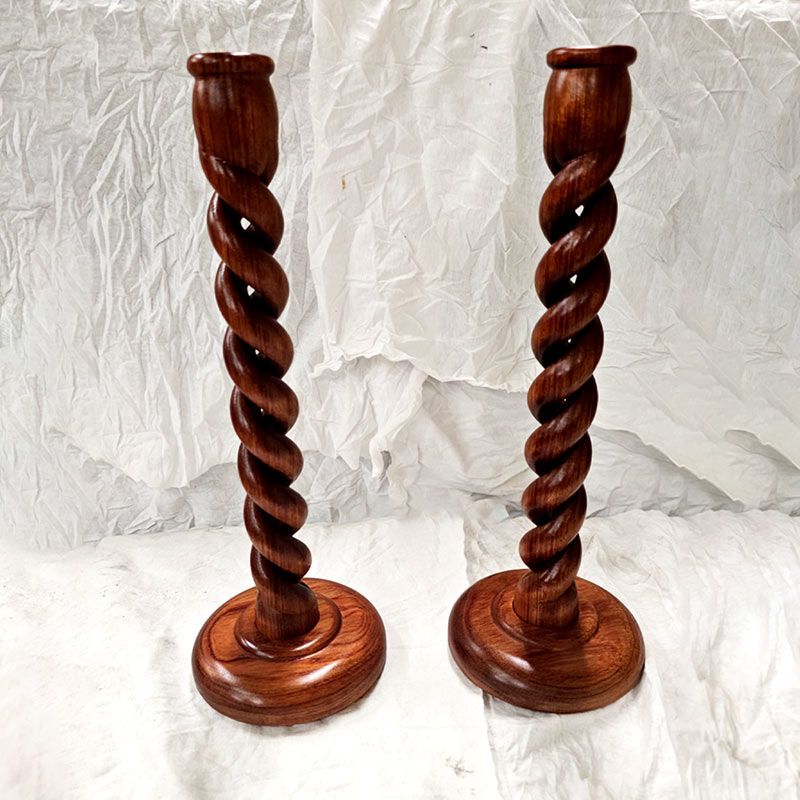
With many years of experience in the workshop Steve Nelson has been able to use his traditional tools along with a combination of software packages and a CNC machine to create his projects. In 2018, Steve decided to upgrade his Aspire software to the latest version which introduced powerful rotary tools and in turn lead to him being able to create this incredible candle holder.
I started off with a 14 inch blank of a Douglas Fir 4" by 4" fence post that I bought at Home Depot. Until I perfected the design and techniques, I didn’t want to waste a lot of money on expensive wood, so I just started with the cheap stuff. The blank was then trimmed down to about 1 5/8" square and rounded to 1 ½" using the rounding gadget toolpath in Aspire.
There are many ways and techniques to create the spirals, but I chose to create a bit in the tool database and assigned that bit to follow each of the spirals vectors that were generated by the wrapping gadget. Since I was going to use a raster 3D finish carve, the bit didn’t really have to exist. I just calculated the width and spacing first and then used trial and error to fine tune the final shape. I used the same created bit to do the round overs at the top and the bottom.
A component was then created from the toolpath preview along with an additional 2-rail sweep component for the rim of the candle bowl at the top. These components were used to create the 3D toolpaths that were sent to the machine.
To create the hollow effect, a 1/4" end mill was assigned to the same vectors as the spirals to a depth of ½ of the diameter of the blank plus a little extra to eliminate some sanding. This toolpath was also sent to the machine. Then a ½" end mill was used to create a ½" tenon at the bottom and a “part-off” at the top.
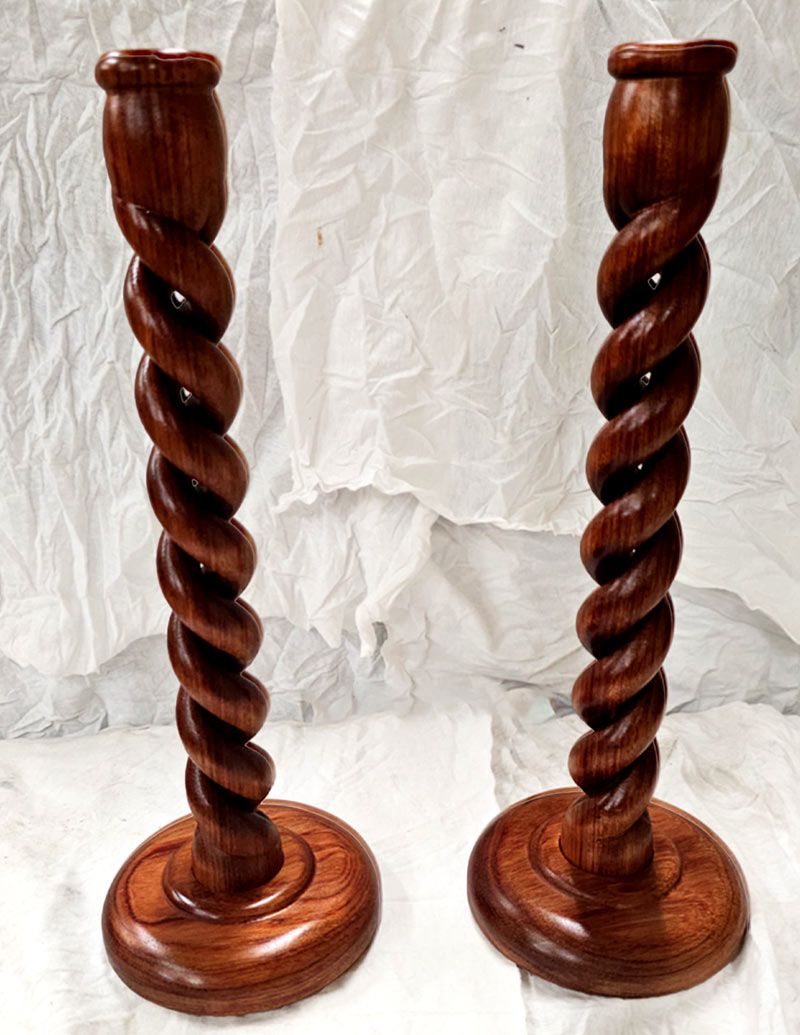
For the base, I used a 4" length of the same 4” by 4” fence post. After rounding to a 3 1/8" diameter I used a 2-rail sweep to create the shape and cut it on the rotary lathe on the Camaster. A 3D roughing toolpath and a 3D finish toolpath was used. After removing it from the lathe I used a drill press to drill a hole to accept the tenon.
After sanding everything with 120 through to 220 grit sandpaper; I applied 2 coats of rattle can shellac and 3 coats of Mohawk lacquer with some light sanding with 400 grit sandpaper between coats.
Suitable for version 11 or greater
Login to V&Co to download the files
LoginPlease access this page on a desktop computer to download the files
Vectric Ltd
Precision House
2 Arden Road
Alcester
B49 6HN
Registered in England Number 05382596
VAT Registration GB115123072
Privacy Policy |
Cookie Policy |
Terms and Conditions


