Scott Worden of Timber Lake Creations has enjoyed crafting wood for over 20 years. After working in a production cabinet shop for several years, Scott decided to open his own woodworking shop. Over the years his work has gone beyond cabinet making and has now evolved into a niche market working with businesses and individuals to design and create custom, one-of-a-kind products ranging from awards, promotional items, and memorabilia to fine furniture pieces. Anything an individual or business can dream up that is crafted out of wood, such as distinctive furniture pieces through to crafting custom wall signs, Scott will be happy to take on.
Blending mechanical knowledge and a hobby of computing & electronics with woodworking soon led to Scott's discovery of CNC. His first CNC experience was in 2000 with a Shopbot PRT96, now he is using a Shopbot PRS Alpha 4896 with Vectric's Aspire software, Scott continues...
"After struggling with and desiring to do VCarving type projects and finding no capable, competent, and affordable software available, VCarve Wizard (VCarve Pro) came on the scene. I jumped at the chance to try it out and haven't once regretted it. I now use Aspire and utilize all aspects of the software – 2D, VCarving, and 3D. Many thanks to Tony, Brian, and the Vectric team for a top notch and affordable product.
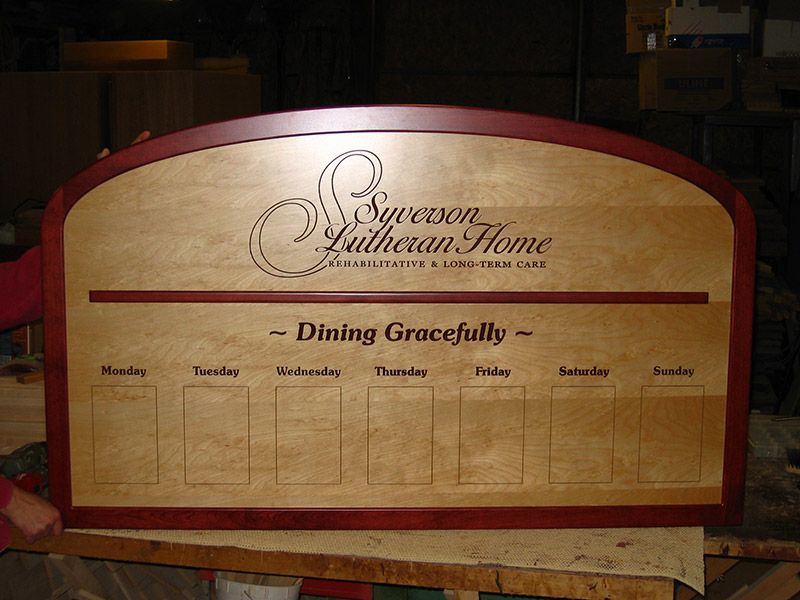
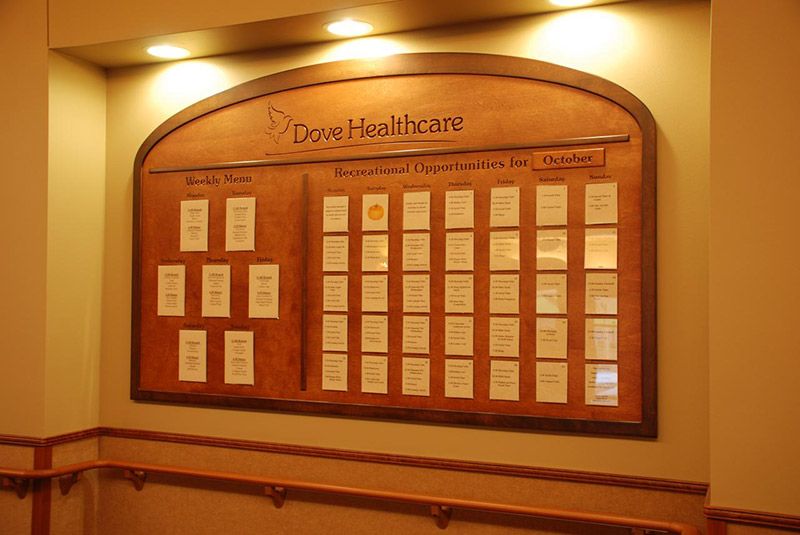
Most of my time is spent in 2D profiles and VCarving, an example can be seen above right, but on the odd occasion I also get to produce some 3D carvings, as below.
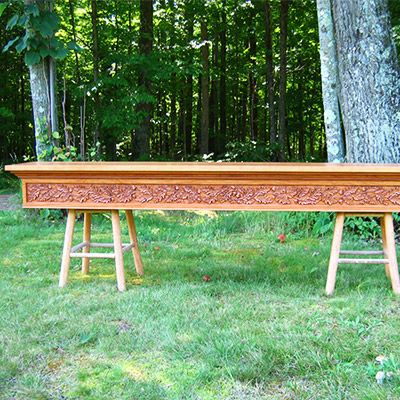
This 3D carved cherry mantel is one of my latest projects. The mantel was specifically designed to fit over the client's existing plain mantel. The client wanted the new mantel to be the focal point of the room."
For Scott's Mantel project the Oak Leaf Mantel design from VectorArt 3D was used. Once scaled to the desired height, a copy of the model was then made so Scott could cut off the ends ready to add to the design. By duplicating the model in each direction; flipping/mirroring along the way, it eventually fit the required length. After baking into one component, Scott did a final scale to fit the project. Doing this kept the proportions as close as possible to the original.
Following this, a roughing toolpath was created with a 0.25" downcut endmill, raster at 90º (or perpendicular to the grain to alleviate splintering that would occur by going with the grain) and a 0.040" allowance for the finish pass. The finishing pass was done with a 0.125" tapered ballnose at 0º raster or parallel to grain. A surrounding rectangle was used as an offset boundary to give a clean wall in the recess. The combined roughing and finishing pass for the front and two ends took approximately 8 hours. Scott goes on to explain how the mantel was constructed...
Construction
"Construction began with the lumber selection to ensure I found the best pieces from available stock to give the best appearance for the face and ends, and also for a glue-up for the 13" wide by 86" long top.
After planing the front and sides to thickness and cutting to width and length, the ends of each piece had a lock miter joint cut into them. Lock miters give a very strong and accurate miter joint that is easily pulled together for a tight fit (above). Several 1/8" grooves were made down the length of the back faces to aid in stress balancing the carving on the front face, just in case there was a tendency to cup. Since the mantel slips over an existing beam mantel, that was all that was needed for the front and sides.
Once the oak leaf/acorn design was carved into the front and sides, the lock miters were glued and clamped. The glued up top was then surface sanded, cut to size, and finish sanded. Pocket screws were used from the back side of the front and sides to secure them to the top. The crown molding was screwed to the front from the back side as well. A ¼" bead molding was applied to the bottom edge. Once all pieces were completed and assembled, it was then disassembled for staining, finishing, and glazing."
Finishing
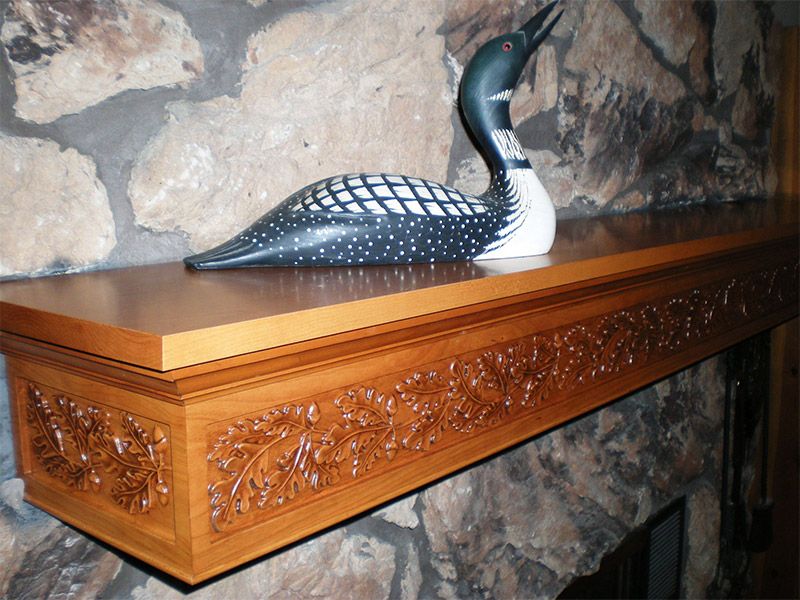
"After the carving was completed, time was spent hand cleaning any fuzzies and sanding the edges of the recess. A broken in 180 grit sanding mop was used to thoroughly go over and buff out the remainder of the carved area.
A light stain was applied to all parts and once dry, two light coats of conversion varnish were applied to the carved area, with a light scuffing in between each coat. After that was dry, I applied General Finish Glaze Effects Van Dyke Brown glaze with a brush around the edges of and on the face of each leaf/acorn. After a little drying time, the excess was wiped off and then a second application of glaze was done. After some dry time, the second coat of glaze was lightly wiped off, leaving the desired amount of glaze on the faces of the leaves. A small stiff bristle brush was then used to blend the edges a bit. As much excess glaze as possible was rubbed out of the flat areas of the recess."
This process pretty much follows Tim Merrill's Glazing Techniques tutorial. When working with the glaze, Scott found that numerous light coats work best and wasted less glaze. This process took 4-5 hours to get the desired look. Once dry, two final coats of conversion varnish were applied to all pieces.
Once finished, all pieces were again assembled to check for fit and finish and then disassembled for packaging and shipping to the customer.
Scott Worden,
Timber Lake Creations.
Below you will find a few more projects Scott has worked on utilizing Vectric's Aspire software, including his next big "Aspire driven" 3D carved project, another mantel!
Vectric Ltd
Precision House
2 Arden Road
Alcester
B49 6HN
Registered in England Number 05382596
VAT Registration GB115123072
Privacy Policy |
Cookie Policy |
Terms and Conditions


